
How Floor Shield Does Same-Day Concrete Coating Installations
June 25th, 2024 | 3 min. read
Imagine this: You’ve just had a long week, and you’re excited to finally get your garage or basement floor coated. But then you hear that traditional epoxy coatings take several days to complete. You’re left thinking, “Do I really want my space out of commission for that long?” At Floor Shield, we get it. The thought of a drawn-out process can be daunting. You want a beautiful, durable floor without the hassle. That’s why we specialize in same-day concrete coating installations, ensuring you get back to your routine with minimal disruption.
At Floor Shield, we understand your concerns. We're not just another coating company; we're experts with years of experience in delivering high-quality, efficient solutions. Our process is designed to be swift without compromising on quality. By the end of this article, you’ll understand how we achieve same-day installations, why prep work is essential, and why our method stands out from traditional options. You’ll walk away knowing exactly why Floor Shield is the right choice for you—and why it might not be for everyone.
The Importance of Preparation
Why Prep is Crucial for Concrete Coating Success
Let’s dive into the nitty-gritty. Preparation is the backbone of a successful concrete coating. You might think the main focus is on applying the coating itself, but without thorough prep, the end result can be disappointing. Poor prep can lead to peeling, bubbling, and a host of other issues down the line. At Floor Shield, we believe in taking our time to do this right, because a well-prepped surface ensures the coating bonds perfectly and lasts longer.
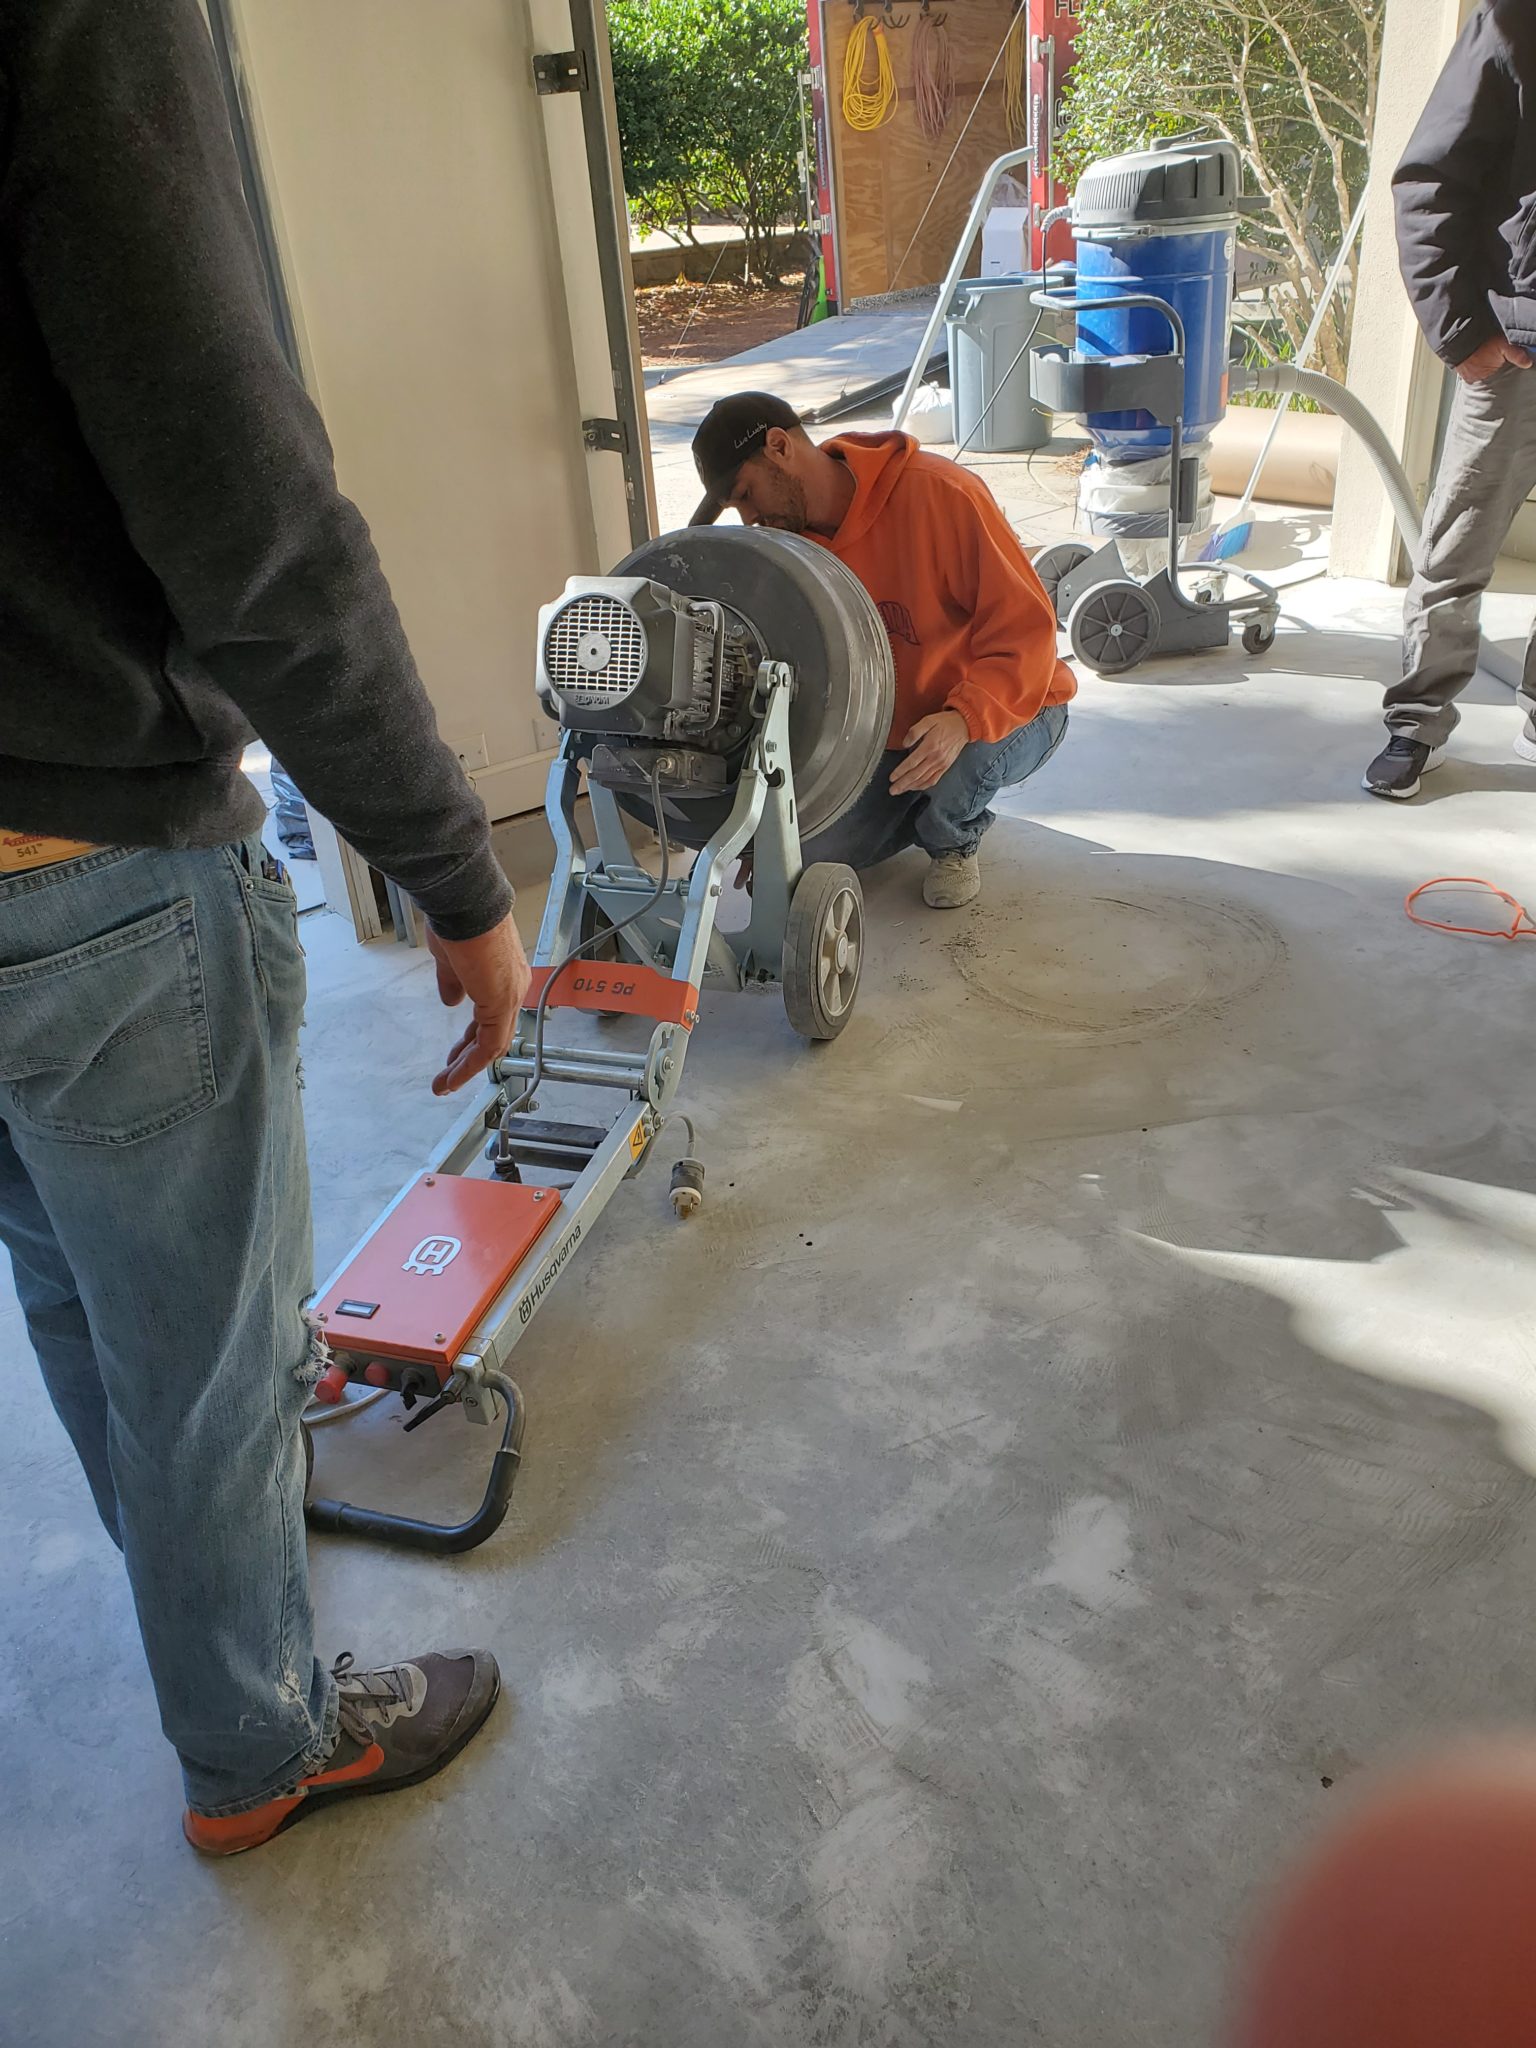
Steps Involved in the Preparation Process
So, what does our prep process look like? Here’s a step-by-step breakdown:
- Grinding the Floor: This is the first step, and it’s all about creating a clean, rough surface for the coating to adhere to. We use industrial grinders to remove any existing coatings, stains, or imperfections.
- Taping and Hand Grinding: Precision matters. We tape off areas that need protection and hand grind the edges and corners to ensure every inch of the floor is prepared.
- Vacuuming and Blowing Off Dust: Dust is a bond breaker. We meticulously vacuum and blow off any dust to ensure a clean surface.
Grinding the Floor
Grinding might sound simple, but it’s a critical part of the process. The goal here is to create a perfect canvas. We use high-powered grinders to remove any old coatings, stains, or surface imperfections. This typically takes about an hour to an hour and fifteen minutes. By the time we’re done, the floor is smooth and ready for the next steps.
Cleaning and Dust Removal
Once the grinding is complete, we don’t just move on to the next step. We vacuum the floor thoroughly and use blowers to remove any remaining dust particles. This might seem excessive, but dust can cause the coating to delaminate. Ensuring the surface is dust-free is non-negotiable.
Applying the Color Coat and Flake
The Process of Applying the First Color Coat
Now comes the fun part—applying the color coat. This first layer is what gives your floor its base color. We mix the coating on-site to ensure it’s fresh and then apply it evenly across the surface. This step usually takes about 30 to 45 minutes.
Flaking for Aesthetic and Functional Benefits
While the color coat is still wet, we broadcast decorative flakes into the coating. These flakes aren’t just for show; they add texture and slip resistance. It takes another 30 to 45 minutes to apply the flakes evenly.
The Waiting Period: Allowing the Coat to Dry
After the flakes are applied, there’s a waiting period. This is typically when our team takes a break for lunch. Polyaspartic coatings dry quickly, but we still need to give it enough time to set properly. This ensures the next steps can be completed without any issues.
Scraping and Reclaiming the Floor
Once the base coat has dried, we scrape the floor to remove any loose flakes. This step is crucial for creating a smooth surface. We then vacuum again to pick up any debris from the scraping process. It might sound repetitive, but cleanliness at each stage is key to a flawless finish.
Sanding and Final Vacuuming
Before applying the final clear coat, we lightly sand the floor. This helps to smooth out any rough spots and ensures a perfect finish. We follow this with another round of vacuuming to make sure the surface is immaculate.
Applying the Clear Coat
The Significance of the Clear Coat
The clear coat is what gives your floor its final look and durability. It’s the most important layer because it’s what you’ll see and walk on every day. We take our time with this step, ensuring an even, thorough application. Depending on the size of the area, this can take between one to two hours.
Benefits of Polyaspartic Over Epoxy
You might be wondering why we choose polyaspartic over traditional epoxy. Here’s why:
- Speed: Polyaspartic coatings dry much faster, allowing for same-day installations.
- UV Stability: Unlike epoxy, polyaspartic is UV stable, meaning it won’t yellow or degrade under sunlight.
- Durability: Polyaspartic is more durable and resistant to wear and tear, making it ideal for high-traffic areas like garages and basements.
Conclusion
At Floor Shield, we pride ourselves on delivering high-quality, same-day concrete coating installations. Our meticulous preparation process, use of polyaspartic coatings, and attention to detail ensure a flawless finish every time. We understand that same-day service might not be for everyone—some projects might benefit from traditional methods or have specific needs that require a different approach. But for those looking for a quick, reliable, and durable solution, Floor Shield is the way to go.
If you’d like a free, no-obligation quote, you can fill out the form below.